16.02 in Boat Plans, bottom, daggerboard, slot
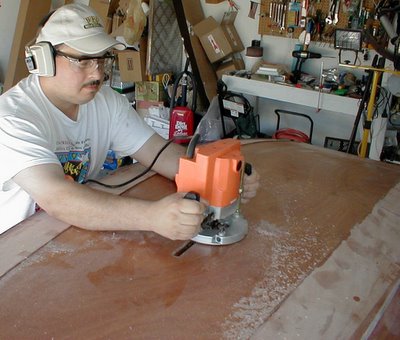
With the interior bulkheads in place, the instructions call for the hull to be flipped over, and epoxy coated as the interior was. However, in the instructions, the daggerboard trunk bottom slot is to be cut at a later time. I reasoned that since this would expose some bare wood that would need to be epoxy coated, I would go ahead and cut the bottom slot early. This would allow the edges of the bottom panel to be epoxy coated in the same process as the whole hull.
Cutting the slot brought me back to my old nemesis, the router. Im not sure why this tool intimidates me so much. I guess it is my inexperience with it, and the thought that irreparable damage to the project could be done so quickly if it were to get out of control. But with a 1/2" flush-cut bit newly purchased last night, I set to work. And I neednt have been so worried. I drilled two 1/2" pilot holes to enlarge the tiny marker holes I had drilled from the inside just before installing the daggerboard trunk. So I had no fear of missing the interior chamber of the DB trunk. I then turned on the router with its new bit, and was amazed how quickly and smoothly it removed material to create a clean, neat slot in the bottom panel, perfectly even with the interior surface of the DB trunk. There was one tiny irregularity in the edge, where the bits guide bearing rode over a glob of epoxy that had squeezed out of the bottom DB trunk joint. That was quite unavoidable, and easily fixed with a rasp.
So now I have a long afternoon ahead of me, sanding the lapstrake joints and filled stitch holes ahead of epoxy coating the exterior hull.
Total hours 58.10.
Read more

 With the interior bulkheads in place, the instructions call for the hull to be flipped over, and epoxy coated as the interior was. However, in the instructions, the daggerboard trunk bottom slot is to be cut at a later time. I reasoned that since this would expose some bare wood that would need to be epoxy coated, I would go ahead and cut the bottom slot early. This would allow the edges of the bottom panel to be epoxy coated in the same process as the whole hull.
